
Jenkins is a self-contained, open source automation server which can be used to automate all sorts of tasks related to building, testing, and delivering or deploying software.
Jenkins can be installed through native system packages, Docker, or even run standalone by any machine with a Java Runtime Environment (JRE) installed.
Prerequisites
- Installing Java and setting Java Path.
- Install Jenkins.
- Configure Jenkins.
- Test Jenkins Job.
Step 1:- Install Java and setting Java Path
Jenkins is a Java application, so the first step is to install Java. Run the following command to install the OpenJDK 8 package
sudo yum install java-1.8*After installing java check the java version
Java -versionIt will give you output like this

Next step is to find and set the Java path
Find where the java is installed
find /usr/lib/jvm/java-1.8* | head -n 3Output:-

Create a file vi /etc/profile.d/jdk.sh and paste the below lines
export JAVA_HOME=/usr/lib/jvm/java-1.8.0-openjdk-1.8.0.252.b09-2.el7_8.x86_64/
PATH=$JAVA_HOME/bin:$PATH
save and exit
Reload profile.d/jdk.sh
source /etc/profile.d/jdk.shcheck the java Path
echo $JAVA_HOME
Step 2:- Install Jenkins
yum -y install wgetwget -O /etc/yum.repos.d/jenkins.repo https://pkg.jenkins.io/redhat-stable/jenkins.reporpm --import https://pkg.jenkins.io/redhat-stable/jenkins.io.keyyum -y install jenkinsAfter the installation process is completed, start the Jenkins service
systemctl start jenkins
systemctl enable jenkins
systemctl status jenkins
Accessing jenkins using URL http://ip_address:8080
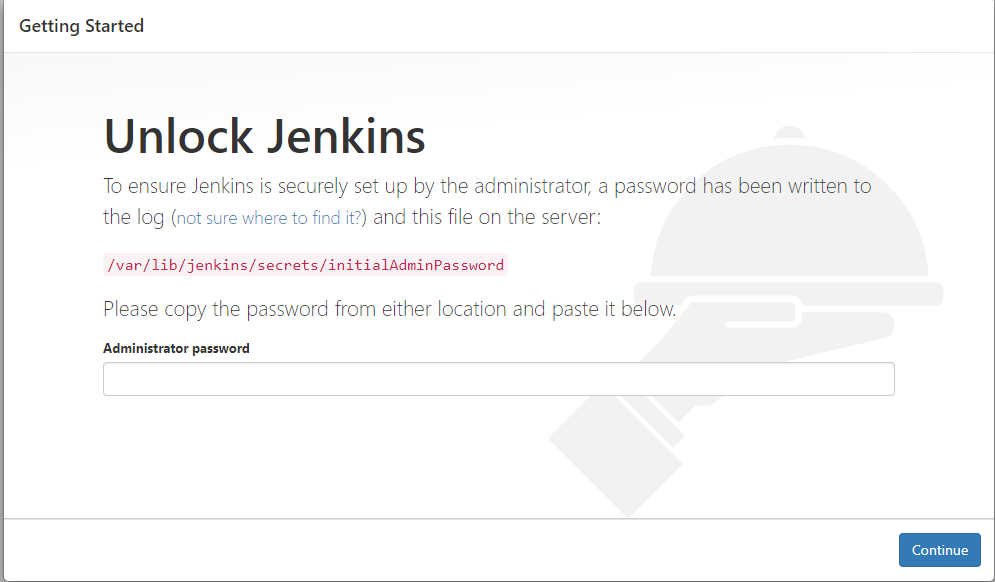
A screen will prompt you to enter the Administrator password that is created during the installation
Step 3:- Configure Jenkins
Copy the admin password from the above location and paste in the jenkins console
cat /var/lib/jenkins/secrets/initialAdminPassword
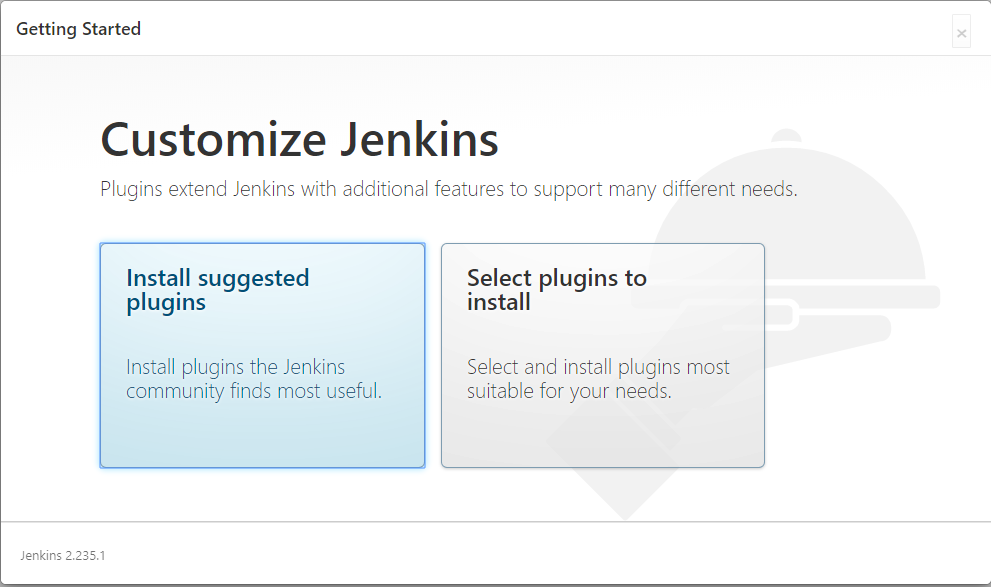
Install the suggested plugins
Create first admin user
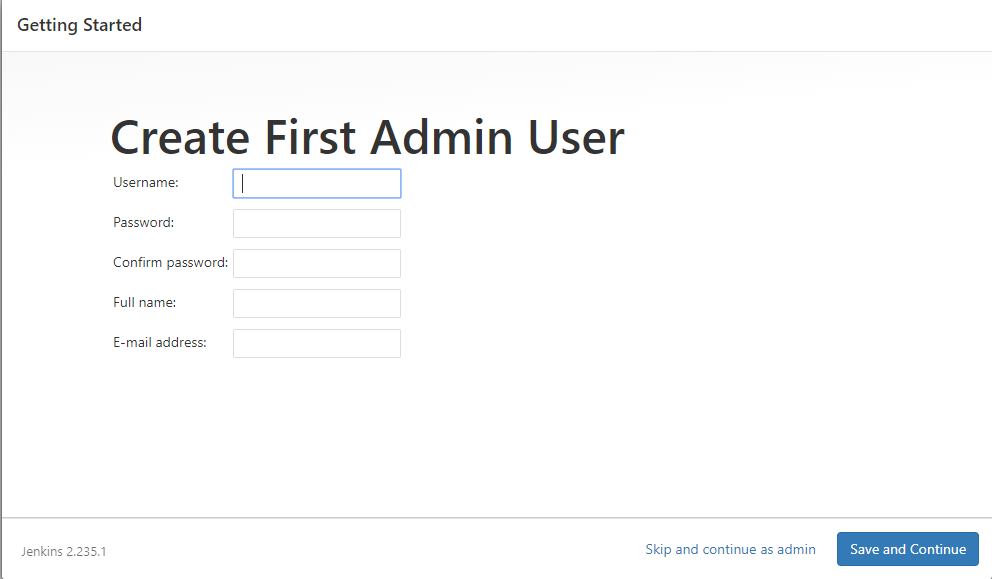
Click Save and Continue
On the next page, you will be asked to set the URL for the Jenkins instance. The URL field will be populated with an automatically generated URL
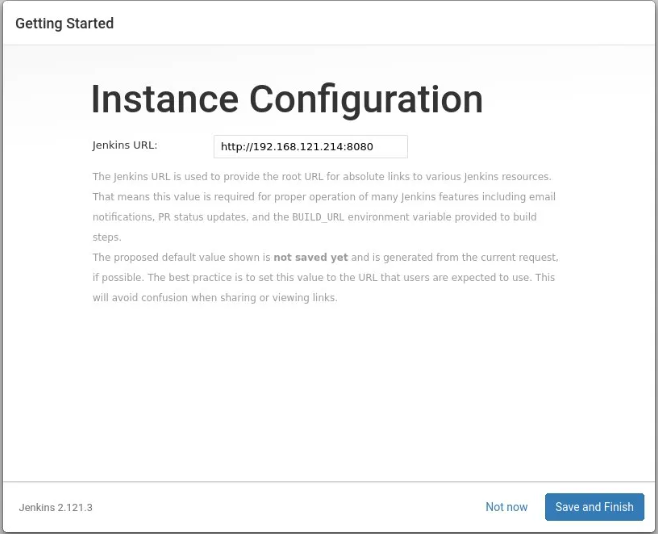
Click Save and Finish
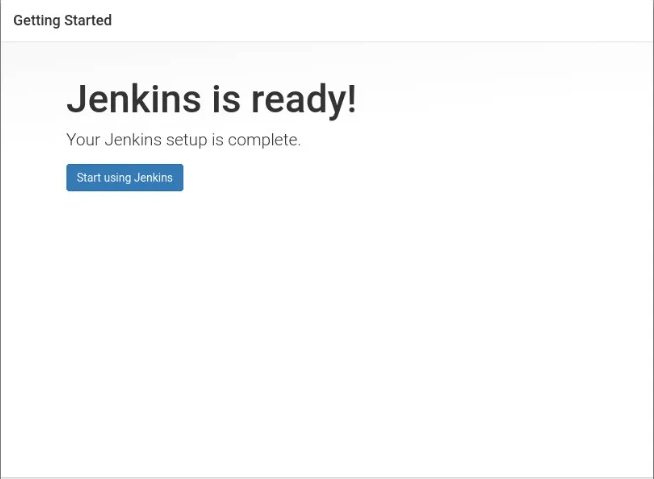
Now your Jenkins server is ready to use
Click on “start using Jenkins”
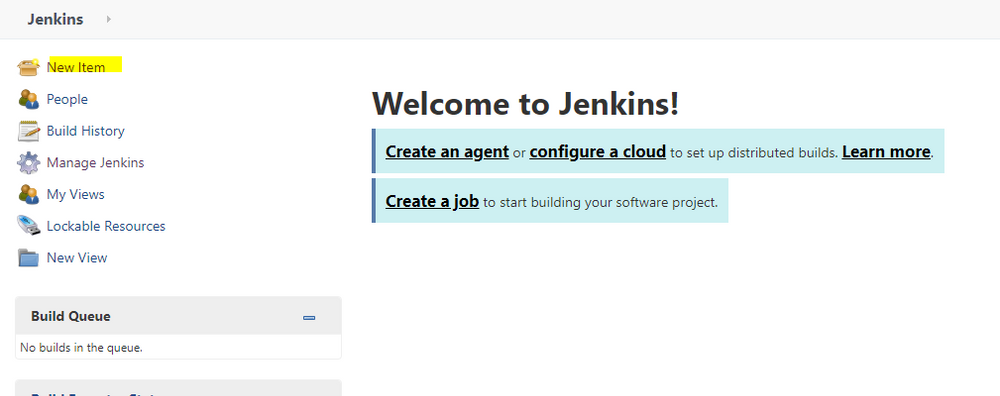
After Clicking Start using Jenkins It will Redirect to the Jenkins dashboard

Step 4:- Test Jenkins Job
Click “New Item” on the left side
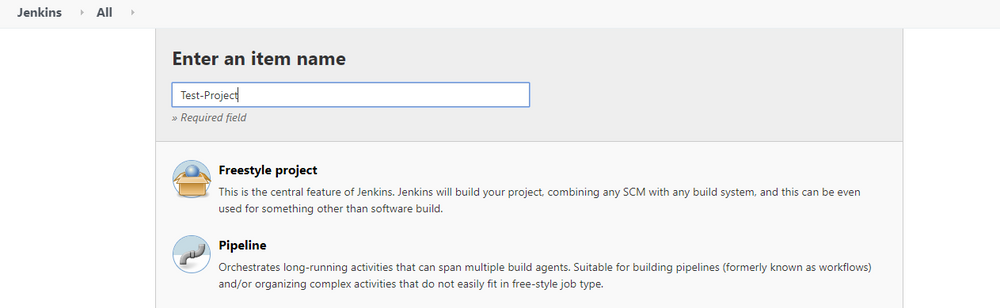
Click “Freestyle Project“and then add the name of project then click “OK”
Go to “Build” option at the last and “add build step”
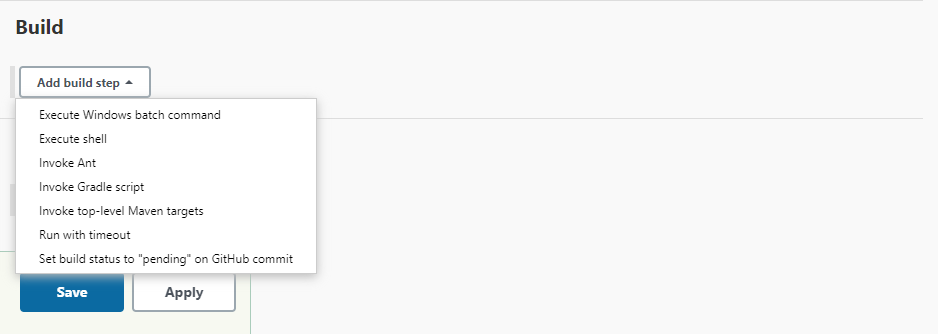
Select “Execute shell”
Add shell script to test the Jenkins job
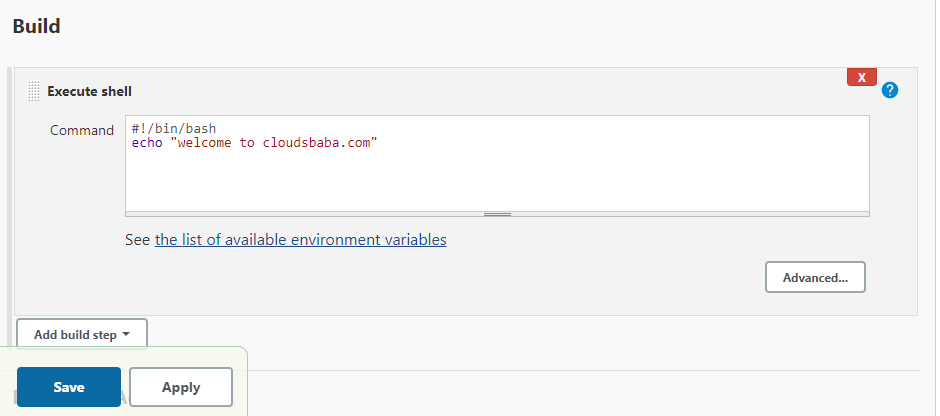
Click “save”
After saving it will go to the project page that you have created
Click on “Build Now”
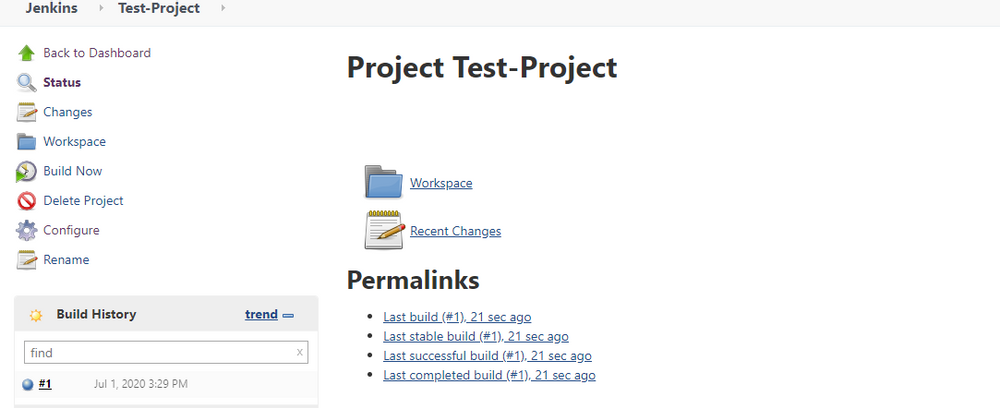
Check the Build History click #1 > “click console output”
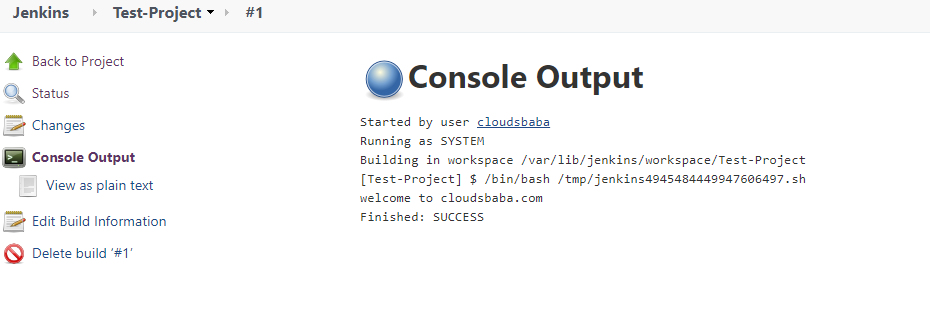
Congratulations…. You follow all the steps to install and configure Jenkins
For More contents please subscribe www.cloudsbaba.com