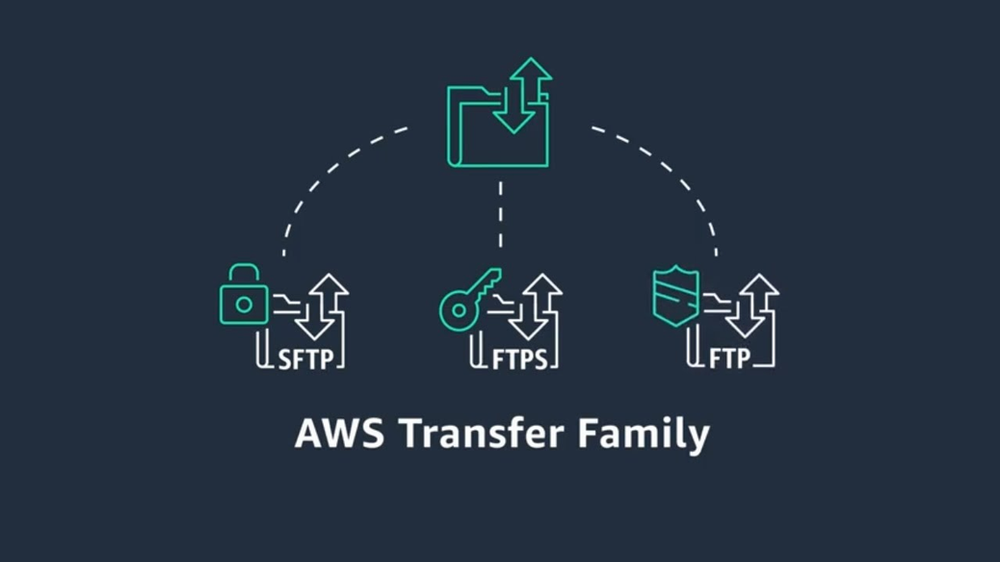
The AWS Transfer family is a fully managed SFTP service for S3.
The AWS Transfer Family helps you seamlessly migrate your file transfer workflows to AWS by integrating with existing authentication systems, and providing DNS routing with Amazon Route 53 so nothing changes for your customers and partners, or their applications. With your data in Amazon S3, you can use it with AWS services for processing, analytics, machine learning, and archiving.
In this blog we are going to setup SFTP server with key based authentication.
Steps:
- Create a Sftp server .
- Add user and create a role for accessing S3 bucket.
- Transfer files using client.
Step 1: Create a sftp server
- Open AWS Transfer Family console https://console.aws.amazon.com/transfer/
- Click “Create Server“
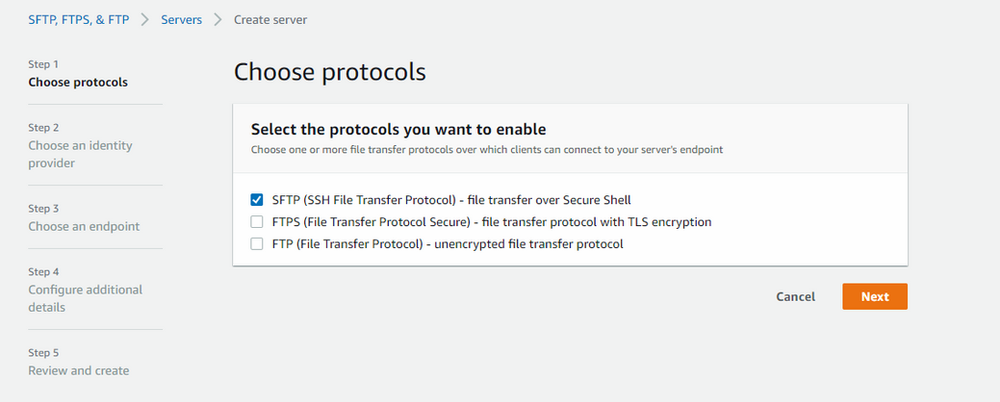
3. Select “SFTP-file transfer over Secure Shell” and click “Next”
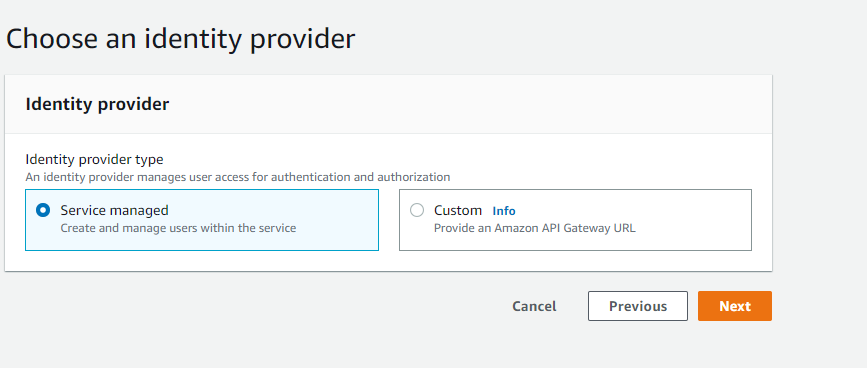
4. Select “Server managed” and then “Next”
5. In this step , we choose the End Point, in this blog we are using public endpoint which is accessible from any where and in “Custom hostname” we select “None”.
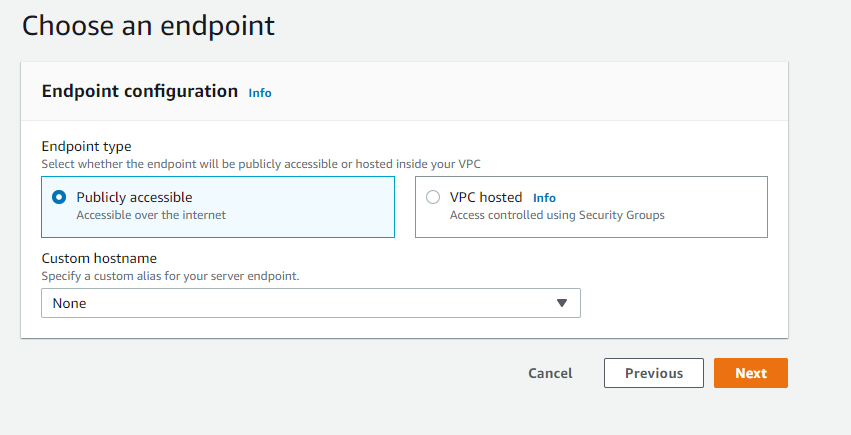
In Custom hostname you can use external DNS name from any provider.
6. Create a Cloudwatch logging role if you want the log of user activity.
Navigate to the IAM policy and create a policy with below json
{
"Version": "2012-10-17",
"Statement": [
{
      "Sid": "VisualEditor0",
      "Effect": "Allow",
      "Action": [
          "logs:CreateLogStream",
          "logs:DescribeLogStreams",
          "logs:CreateLogGroup",
          "logs:PutLogEvents"
          ],
          "Resource": "*"
          }
      ]
  }
Add the role in CloudWatch logging
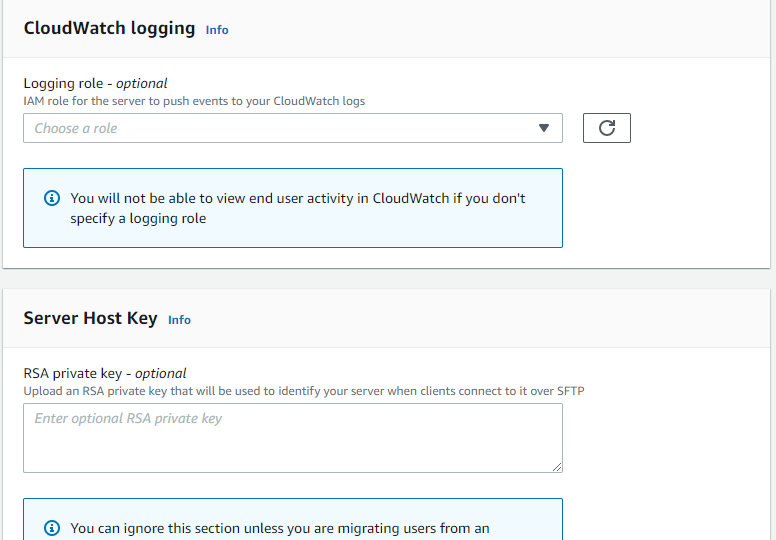
Click “Next”
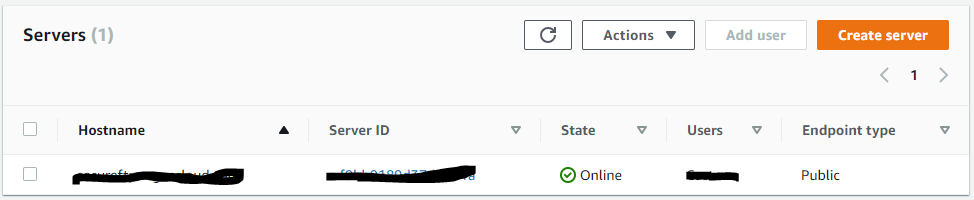
7. Click “Create Server”
Now You can see the server is created
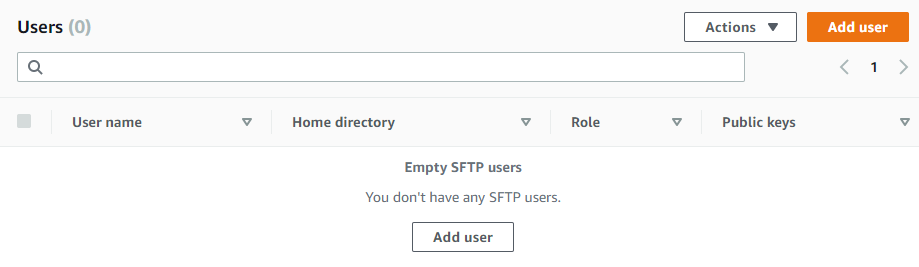
Step 2: Add User
If you use a service-managed identity type, you add users to your file transfer protocol-enabled server. When you do so, each user name must be unique on your server.
- Open the Sftp Server
Click on Server ID , it will open the sftp console
2. Click on “Add user”
3. Add user configuration and create a role for accessing S3 bucket
Create policy for accessing S3 bucket
paste the below json
{
    "Version": "2012-10-17",
    "Statement": [
        {
            "Sid": "VisualEditor0",
            "Effect": "Allow",
            "Action": [
                "s3:ListBucket",
                "s3:GetBucketLocation"
            ],
            "Resource": "arn:aws:s3:::bucketname"
        },
        {
            "Sid": "VisualEditor1",
            "Effect": "Allow",
            "Action": [
                "s3:PutObject",
                "s3:GetObjectAcl",
                "s3:GetObject",
                "s3:DeleteObjectVersion",
                "s3:DeleteObject",
                "s3:PutObjectAcl",
                "s3:GetObjectVersion"
            ],
            "Resource": "arn:aws:s3:::bucketname/*"
        }
    ]
}
Click “Save”
Create a role e.g Role-for-accessing-S3 and make sure that the Transfer service is choose
attched the policy that we created in above step
Add the role in user configurartion
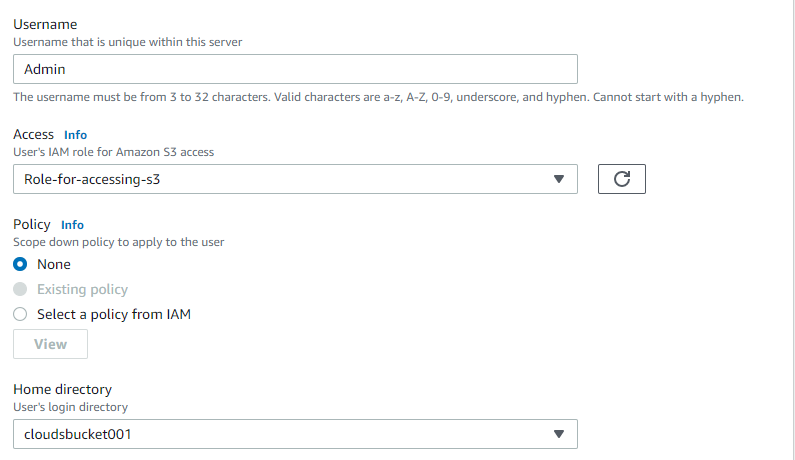
Note: you can also restrict the user to use its folder only
3. Create Public key for the user using putty gen and paste in public keys and save it as private key for users to connect
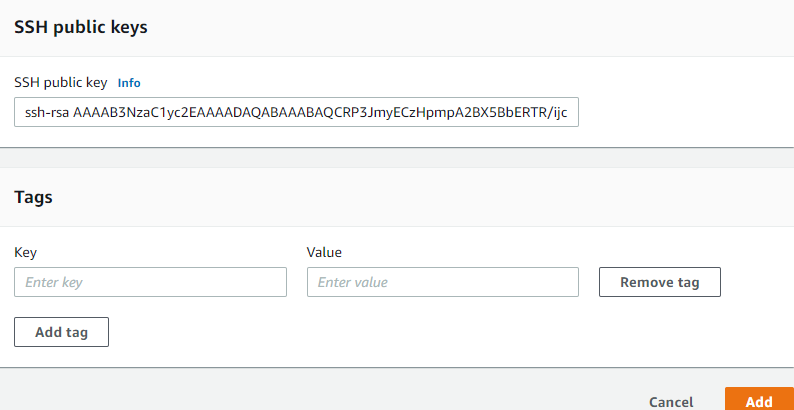
click “Add”
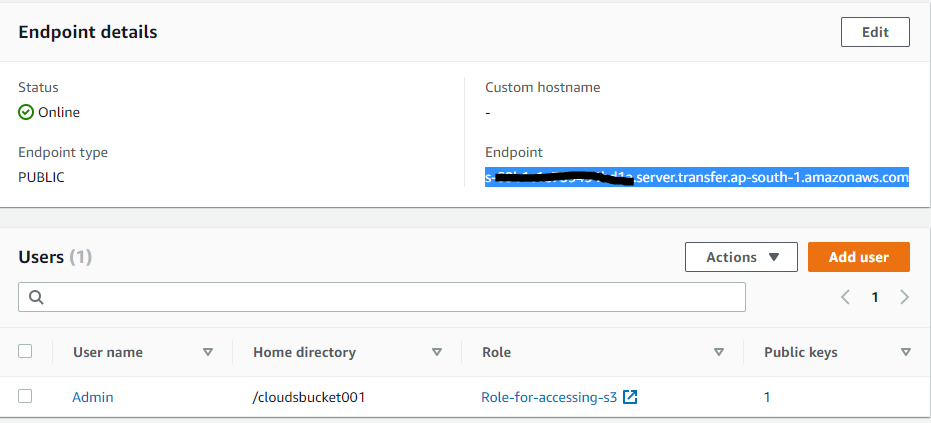
As you can see in the AWS Transfer family console user is cretated
Step 3: Transfer files using client
open winscp
Copy the Endpoint from the AWS Transfer family console
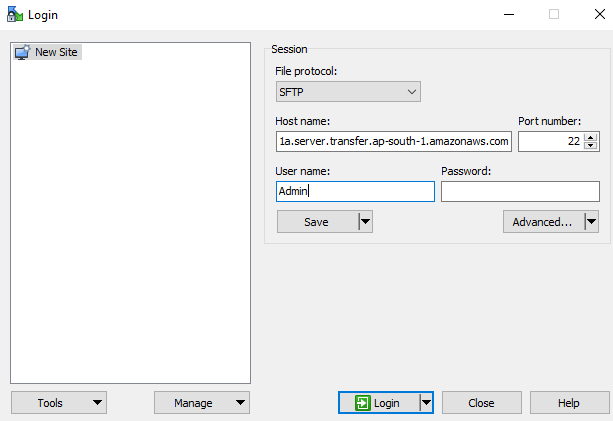
Add the user name in User name text field and Private key in the Advance tab and then Login
As you can see you are connected to S3 bucket using AWS Transfer family
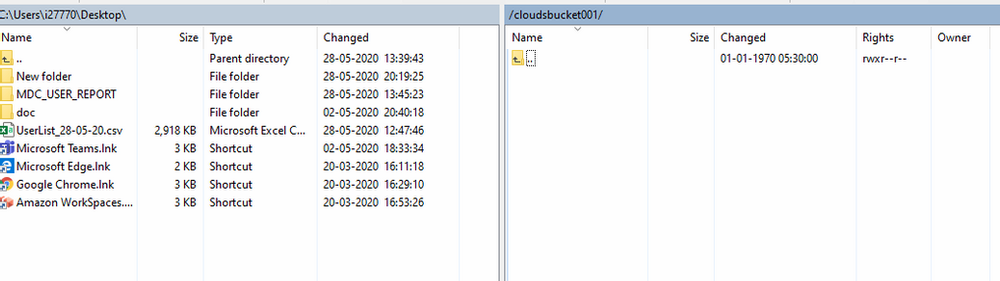
Note: if you are not able to transfer files to S3 Bucket then check your IAM Role for S3.
Congratulations…… You follow all the steps and setup the AWS Transfer
Please subscribe ,www.cloudsbaba.com for more updates and content