
Avamar is a backup and recovery solution developed by DELL EMC that features backup software, disk targets and global client-side deduplication.
As we all know that in today’s world the data is growing exponentially and it becomes a challenge to backup and recover the data in proper way. In addition to the increase in data, the another most important challenge is that the data is no longer centralized in a single location because the data is located at multiple sites and it needs to be backed up and managed in most appropriate manner.
Here, Avamar comes in the picture that helps to solve these challenges by providing deduplication, storing backups on disk, centralizing backup administration and replicating backup data between multiple sites.
Advantages of using Avamar:
- Different client OS plugins are included in the capacity license.
- Multiple hypervisors, operating systems, databases and NAS storage systems are supported.
- Avamar eliminates the traditional complex licensing model for backup software that has required separate licenses for different types of backup targets and data sets.
- Avamar also features DR functionality in the form of data replication from one Avamar system to another. Replication can be configured for unidirectional or bidirectional copy for some or all backup data between systems.
- The backups and restores are much faster than traditional backup software that does not use efficient deduplication.
Avamar Virtual Edition Installation
Here we are going to install the Avamar Virtual Edition on Esxi 6.7. So, let’s begin…
- Firstly, download the Avamar Virtual Edition from Dell EMC support portal as below:
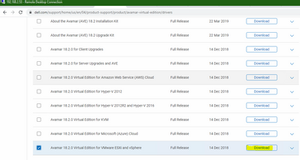
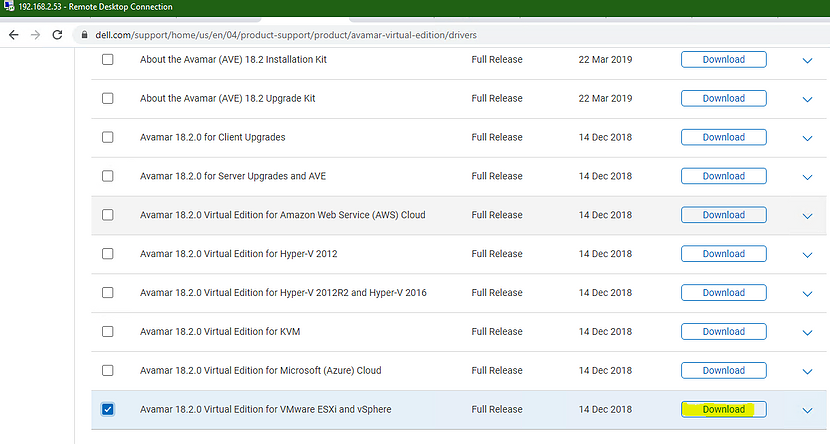
- It downloads 2 files as below:
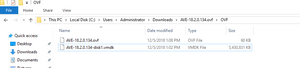

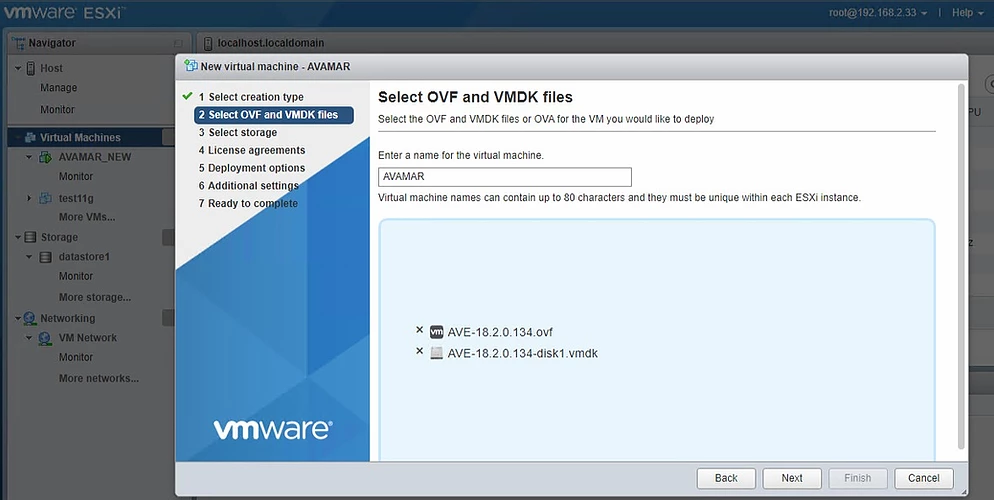
- Once you have the OVF downloaded, login to vSphere and select Deploy OVF Template. Hit browse, then select the recently download OVF file as below and click next:
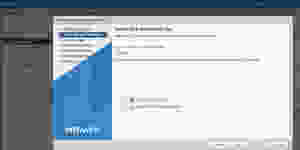
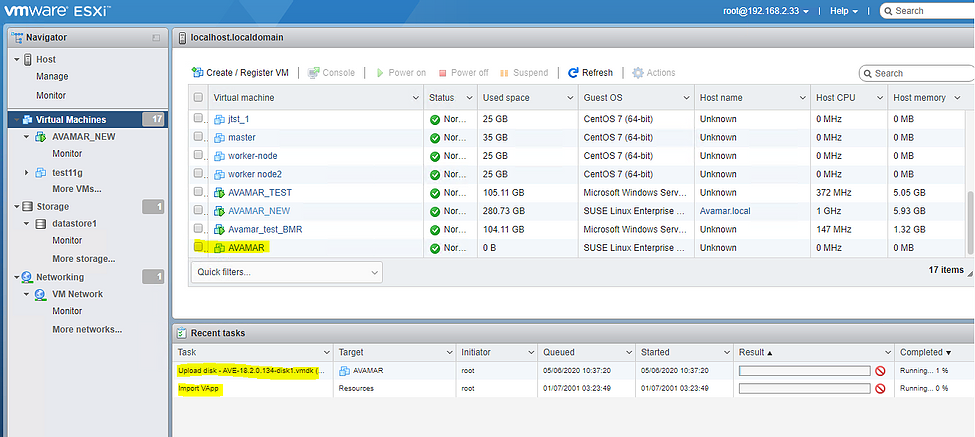
- After that we can select Storage on which we need to deploy Avamar, License agreements and then our Avamar is ready to deploy as below:
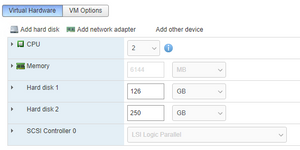
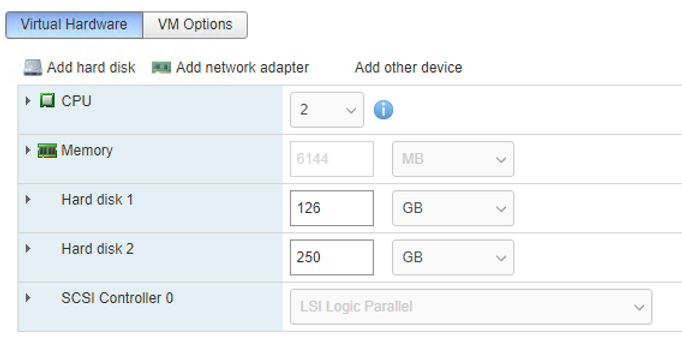
- After successful deployment, you need to add minimum 250GB of hard-disk with the machine for the installation of Avamar as below:
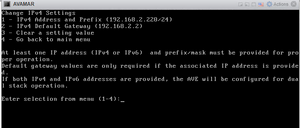
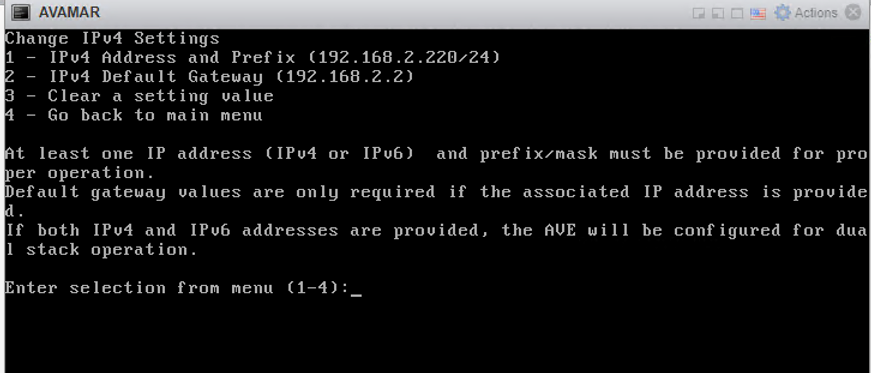
- Then the machine Powers On automatically and via console login using default username as “root” and password “changeme” and then we need to provide IP address the machine as below:
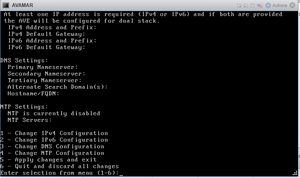
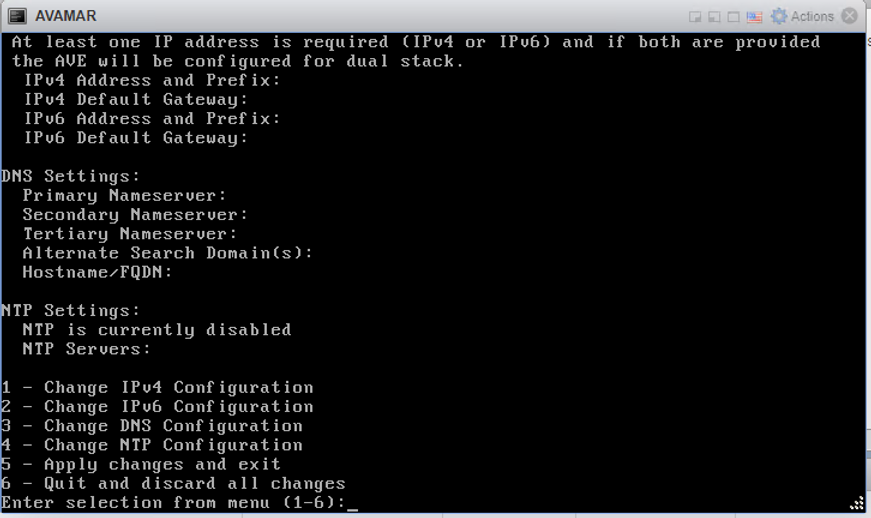
- Here, select 1 and provide Ip address and Gateway to the Avamar. Here, I give IP as: 192.168.2.220 as below:
- Then, we need to install Avamar by open the following link on browser: https://192.168.2.220/avi/avigui.html as below:
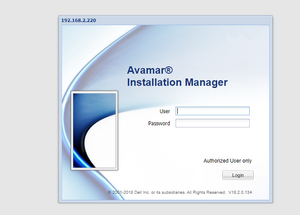

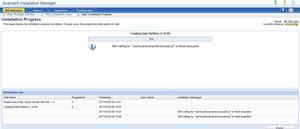
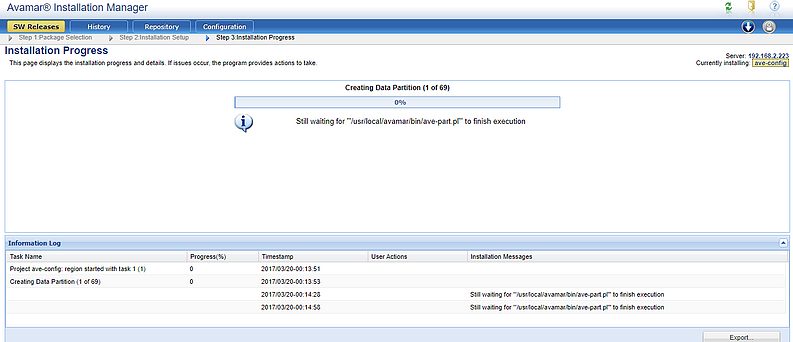
- Then, provide username and password and lets the installation begins by clicking install button and then take some tea, it will take 30 minutes to complete the installation.
After the successful installation, you need to upgrade the client packages for Avamar Server.
Upgrade client packages to the Avamar server
After the installation, you need to download the upgrade client packages for Avamar from EMC support site as below:
Before installing the Avamar client software, you must first download the UpgradeClientDownloads package from the EMC repository to the Avamar server. After downloading the file, you must install it on the server for the client installation packages to be available.
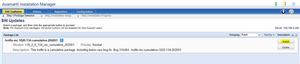
- Go to emc support and search for Avamar Server and then download the client Downloads as below:


- Download and upload it to the Avamar Server and copy to /data01/avamar/repos/packages/ directory as below:


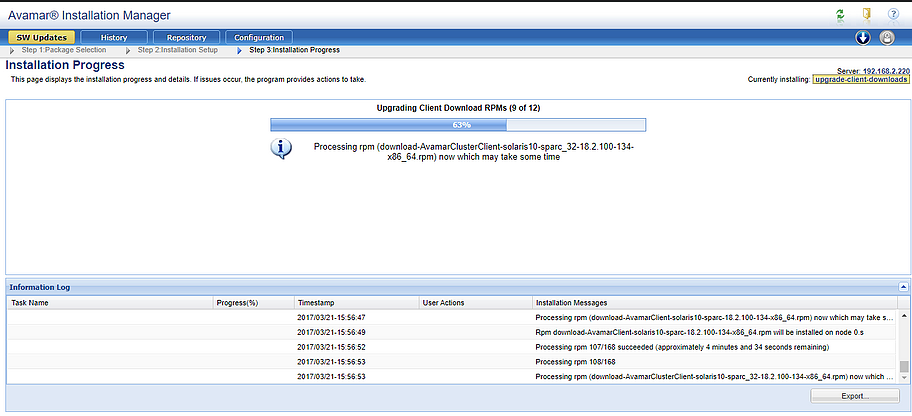
- Then on browser open https://avamarIP/avi to install the downloaded avp package.
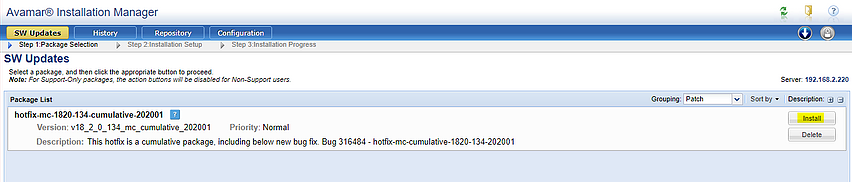
- Then click on install to install all the client Packages(it takes 30 to 45 minutes to complete):
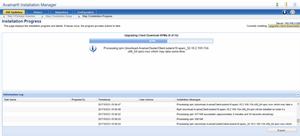
- Then all the client’s packages are available for download:
Download the Avamar Client for Windows
- Log in to the computer where you want to install the Avamar Client.
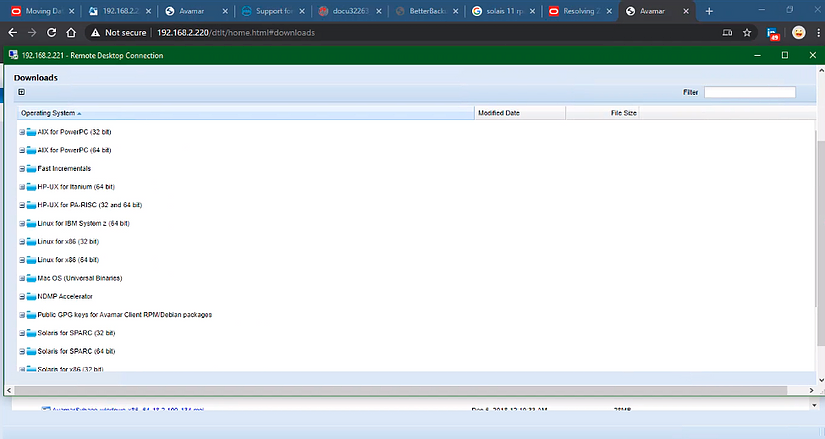
- In a web browser, type the following URL: https://AVAMARSERVER/dtlt/home.html where AVAMARSERVER is the Avamar server network hostname (as defined in DNS) or IP address.
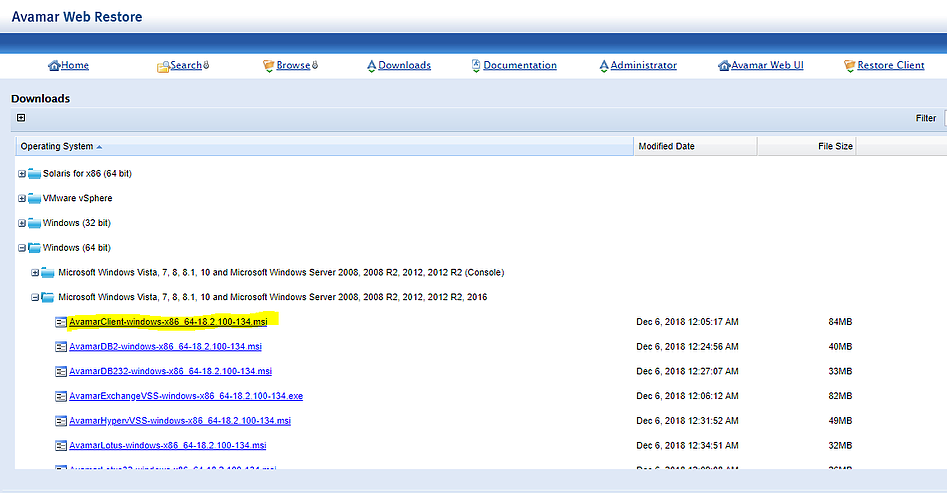
- From the links at the top of the page, click Downloads. A list of the software available from the server appears in the browser.
- Select an operating system heading or software category heading from the list and click + next to it. When necessary, click + next to subheadings until the software package link appears.
- Click the software package link. The server transfers the software package to the web browser.
- Save the installation package to a temporary folder. Do not rename a software package. The Avamar push upgrade mechanisms are incompatible with renamed packages.
Installing the Avamar client on Windows
Before installing the Avamar client software, we need to perform the following:
- Ensure that the Avamar server is operational and present on the same network as the client computer. Verify if this action is performed by opening a command shell on the client computer and typing the following: ping AVAMARSERVER where AVAMARSERVER is the network hostname (as defined in DNS) or IP address of the Avamar server.
- Make note of the network hostname (as defined in DNS) for:
        · Avamar server
        · Avamar utility node
Now, Lets install the Avamar Client on Windows:
- Locate the downloaded software package and double-click on it. A User Account Control dialog box appears.

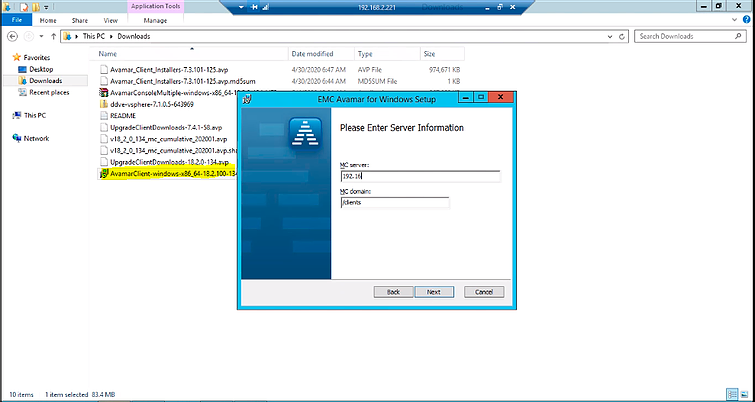
- Select whether to install Avamar Client for Windows software with a Graphical User Interface (GUI): To install with a GUI, leave the Avamar Client User Interface option enabled, and click Next.To install without a GUI, click Avamar Client User Interface and select Entire feature will be unavailable, and click Next.
- The Ready to install Avamar for Windows screen appears.
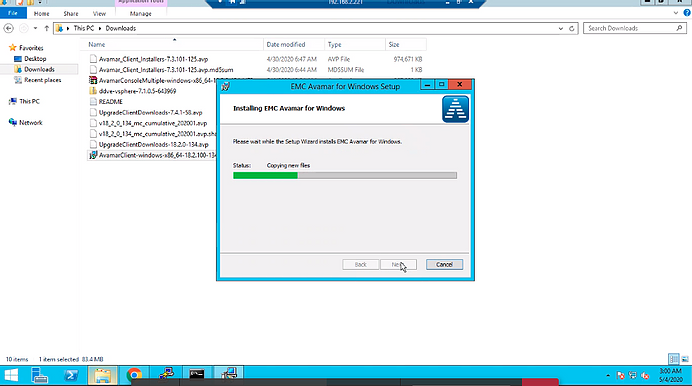
- Enter the server information and click Install. A User Account Control dialog box appears.
- Click Yes.
- When the installation completes, click Finish. The installation wizard closes and the Avamar icon appears in the system tray.
Registering and Activate the Avamar Client for Windows
To register and activate the Avamar Client for Windows software from the client computer:
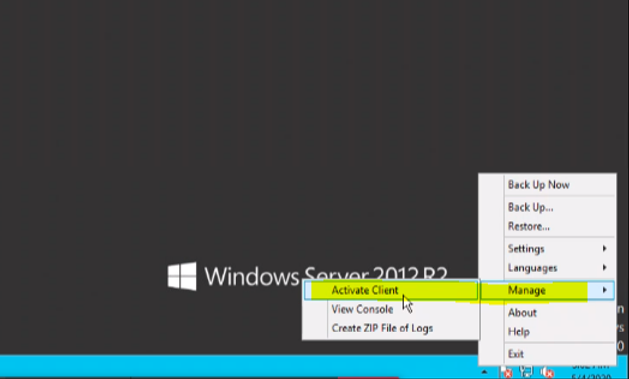
- Right-click the Avamar system tray icon.
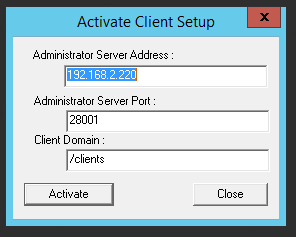
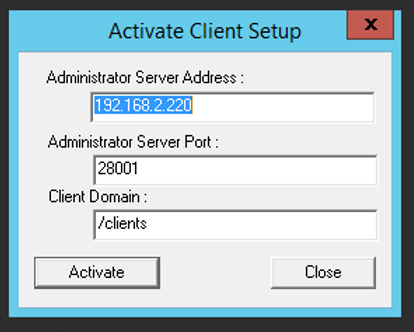
- Select Manage > Activate Client. The Activate Client Setup dialog box appears.

- In Administrator Server Address, type the hostname of the Avamar server as defined in DNS, or its IP address.
- In Administrator Server Port, type 28001.
- In Client Domain, type the Avamar domain for this client and click on Activate.
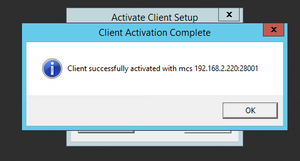
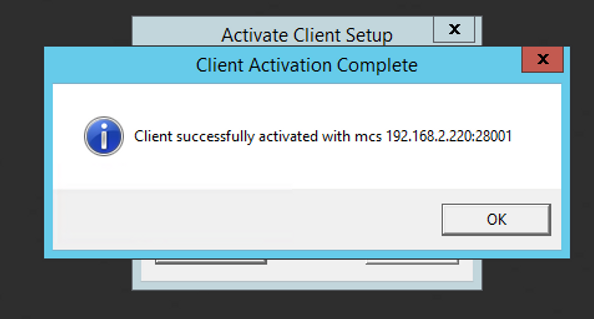
- After clicking Activate, make sure that Port No 28001 must be opened bi-directional between Client Machine and Avamar Server. If port is opened, then the client will be activated as below:
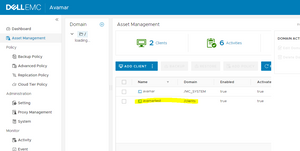
On the Avamar console, we can able to see the client as below:
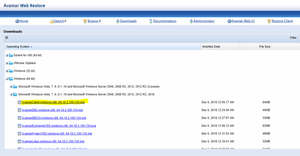
- Login to avamar console https://192.168.2.220/aui and porvide Login credentials and open Asset Management as below:
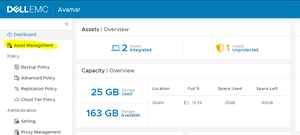
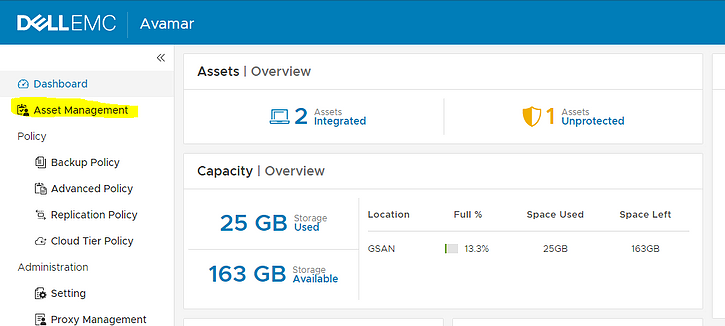
- Then there you can able to see the hostname of Server on which you install the Avamar Client: