
The Spring Framework is an application framework and inversion of control container for the Java platform. The framework’s core features can be used by any Java application, but there are extensions for building web applications on top of the Java EE (Enterprise Edition) platform. Although the framework does not impose any specific programming model, it has become popular in the Java community as an addition to the Enterprise JavaBeans (EJB) model. The Spring Framework is open-source.
Here we are going to discuss the way of generation .jar file out of the spring boot project with Jenkins from a remote repository and copy the .jar file into another remote location by Jenkins and deploying it.
Pre-requisites
- Install Jenkins and Java
- Install Apache-Maven on the Jenkins server and setting up the path
- Source Code repository from Github/Bitbucket
Step 1:- Install Jenkins and Java
For Jenkins and Java installation please refer to this post:-
,Jenkins Installation And Configuration On AWS EC2-instance
Step 2:- Install apache maven on the Jenkins server and setting up the path
for installing Apache-Maven make sure that java is installed on the server
Go to the official Apache Maven download page and download the latest version of it

login to the Jenkins server and go to the directory where you want to install Apache-Maven
cd /u01
curlhttps://mirrors.estointernet.in/apache/maven/maven3/3.6.3/binaries/apache-maven-3.6.3-bin.tar.gz
Extract the download file
sudo tar -xf apache-maven-3.6.3-bin.tar.gz
Setting up the path
sudo vi /etc/profile.d/maven.shexport M2_HOME=/u01apache-maven-3.6.3
export PATH=${M2_HOME}/bin:${PATH}reload the file
source /etc/profile.d/maven.shcheck if the path is set or not
echo $M2_HOME
Step 3:- Setting up the deployment of spring boot with Jenkins
- Login to Jenkins Server
Installed the Maven, Git, Bitbucket plugins from the plugin manager
After installing go to Manage Jenkins>Global Tool Configuration
Set the Apache-Maven path
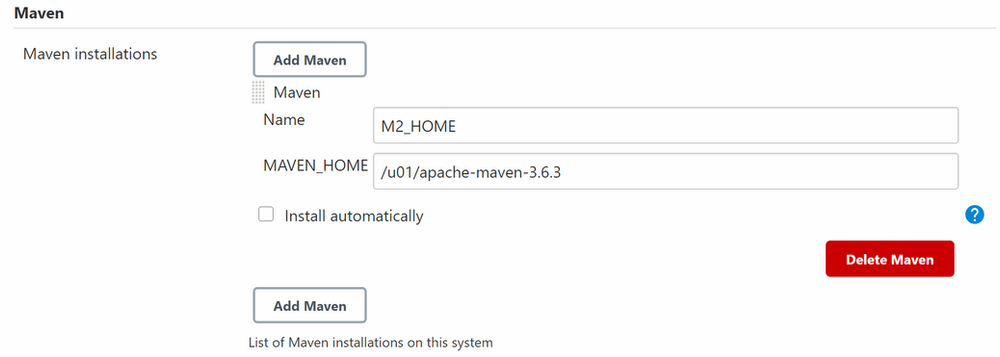
save it
- Create New Item
Click on New Item
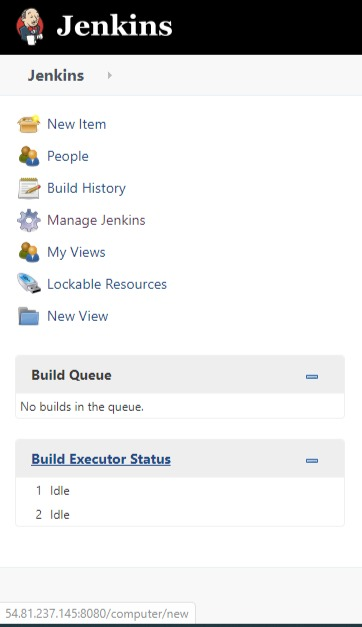
Select Maven Project and type the name of the project
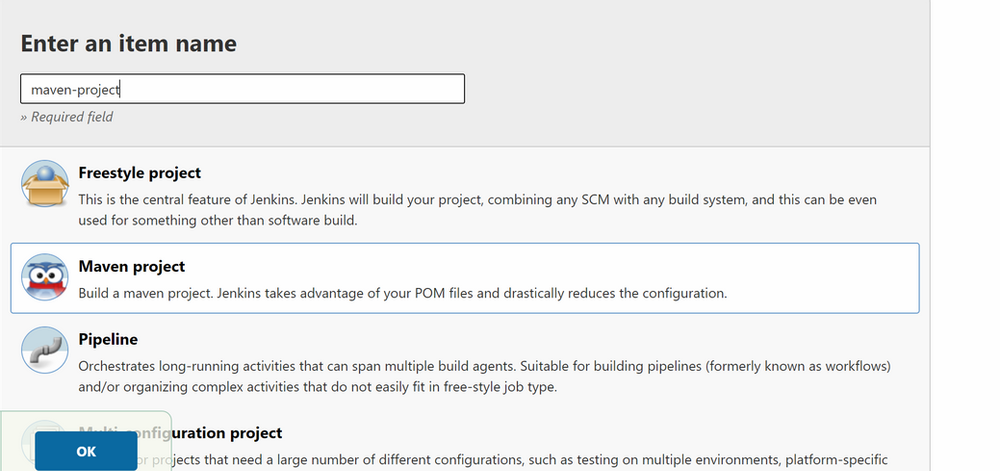
click ok
it will open a configuration window for you
In the Source Code Management tab add the git repository URL
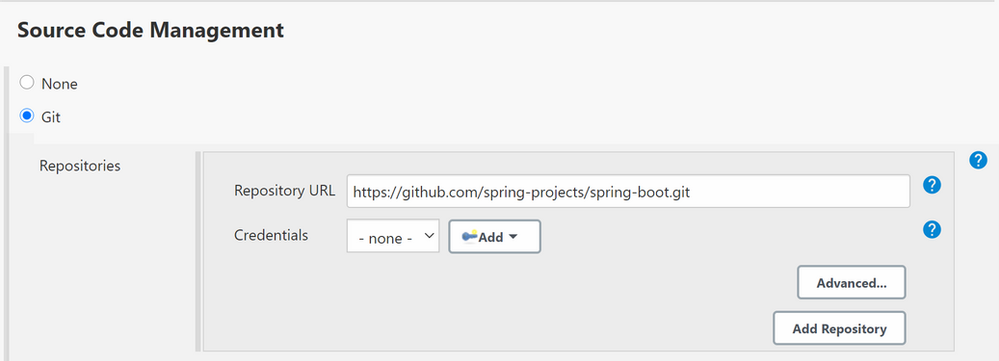
Note- If your repository is private then you need to add credentials for authenticating it to your repository
Navigate to Build Environment add the pre and post-build scripts like below:
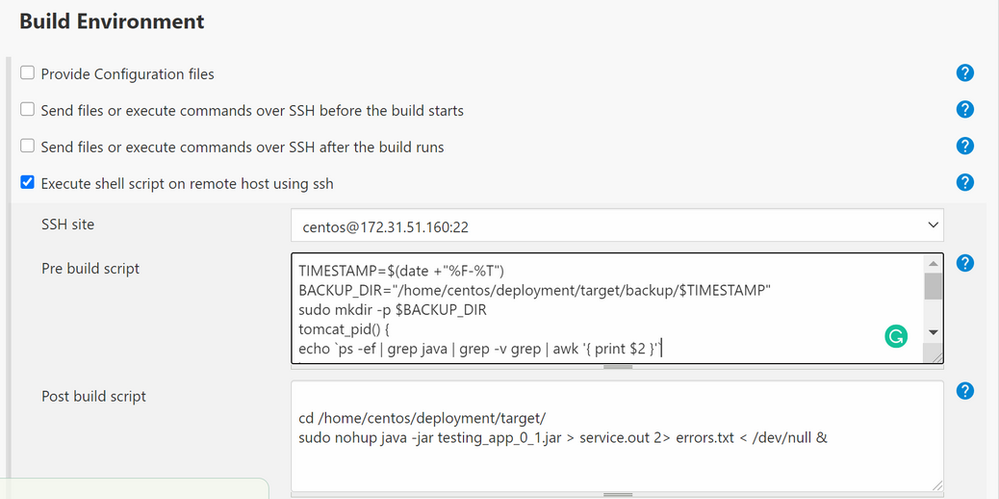
Pre-build script:-
TIMESTAMP=$(date +"%F-%T")
BACKUP_DIR="/home/centos/deployment/target/backup/$TIMESTAMP"
sudo mkdir -p $BACKUP_DIR
tomcat_pid() {
echo `ps -ef | grep java | grep -v grep | awk '{ print $2 }'`
}
pid=$(tomcat_pid)
sudo kill  -9 $pid
sudo mv /home/centos/deployment/target/*.jar $BACKUP_DIR
Post-build script:-
cd /home/centos/deployment/target/
sudo nohup java -jar testing_app_0_1.jar > service.out 2> errors.txt < /dev/null &
Now add clean install package -DskipTests=true in Goals and options

- Now add Post Steps
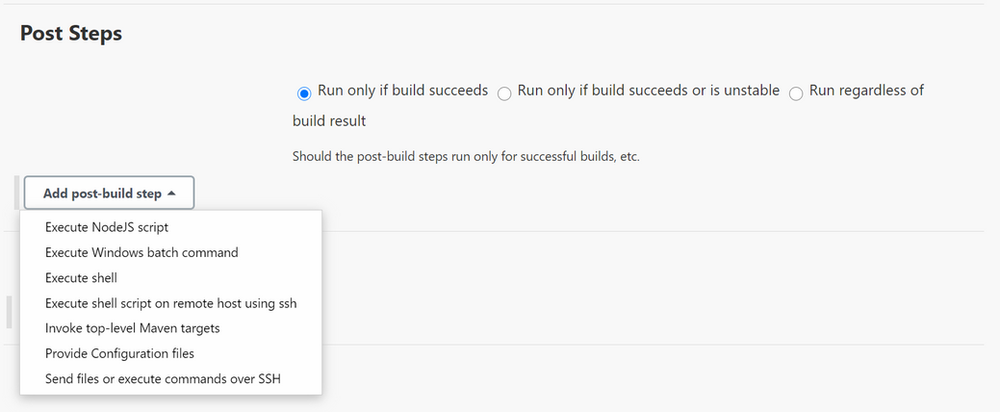
Select “Send files or execute commands over SSH”
Add the remote server where you want to deploy the .jar
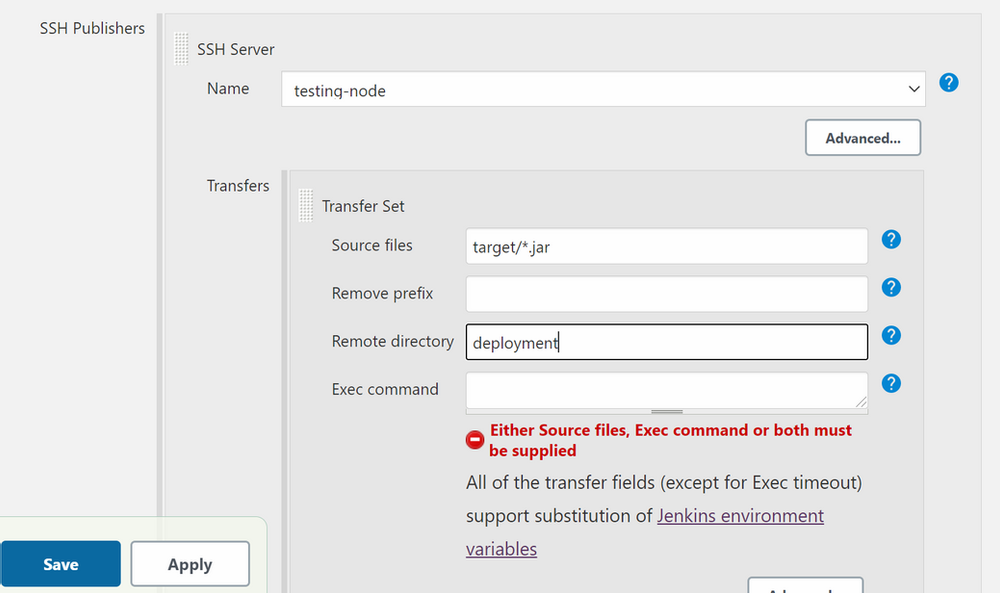
Click Apply and Save
Click on Build now

check the console output
If it is showing success at the last then your configuration is correct. If its showing failure then you need to check the configuration again
Congratulations…. You follow all the steps and deployed spring boot application to the remote server
Reference:-
- https://www.tutorialspoint.com/spring_boot/spring_boot_introduction.htm#:~:text=Spring%20Boot%20is%20an%20open,and%20production%20ready%20spring%20applications.
- https://www.jenkins.io/
- https://maven.apache.org/


